The Revealing Art of Scratch-boarding: What is it?
I received an email recently advertising the materials for a technique called scratch-boarding. I had never heard of it before but was fascinated by the accompanying images and thought, hey I might give that a try one day and thought I should delve deeper, here's what I came up with –
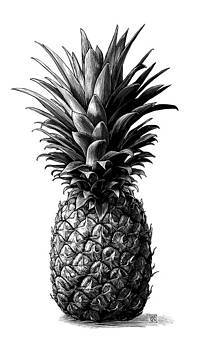
Pineapple by Clint Hansen
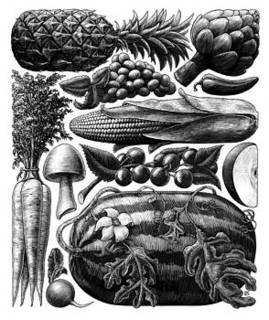
So scratchboard or scraperboard as it’s sometimes called in other countries is a technique where drawings are created using sharp knives and tools for etching through a dark black layer of Indian Ink to expose a thin layer of white China clay.
This technique is not a new one in fact modern scratchboard originated in the 19th century in
It was most effective and quick to produce. Because of this it was ideal for use in black and white book as well as newspaper printing. The fine detailing meant it was one of the preferred techniques for medical, scientific and product illustration as well prior to computer generated images that we have today.
In more recent years, it has made a comeback as an appealing medium for editorial illustrators of magazines, and advertisements.
How to Do Scratch-Boarding
Scratch-boarding is a unique and intricate art form involving etching into a specially coated board to reveal contrasting colours. Here's a step-by-step guide to help you master this technique:
- Preparing Your Scratchboard:
- Choose Your Board: Scratchboards come in either black or white sheets. Black scratchboards have a black ink surface over a white or coloured layer, while white scratchboards are painted or drawn on with black ink.
- Outline Your Design: Use a sharp, angled blade or scratch tool to lightly outline your design on the surface of the scratchboard.
- Creating Shadows and Highlights:
- Scratch Away: Gently scratch away the black surface to reveal the white or coloured layer beneath, creating highlights and shadows. For white scratchboards, apply black ink to create shadows and scratch into it to reveal the white base.
- Techniques for Texture and Detail:
- Hatching and Stippling: Use techniques like hatching (parallel lines) or stippling (dots) to add texture and detail to your image.
- Layering with Color: For a more complex piece, clear areas of the board can be layered with watercolours, airbrushes, or acrylic paints. These layers can then be scratched off in stages to create different shades and highlights.
- Refining Your Work:
- Retouching: Additional paint can be applied and scratched away as needed to refine and enhance the image, achieving a lifelike effect with fine and sharp details.
- Advanced Scratchboarding:
- Multi-Coloured Clay Boards: Some scratchboards have multiple layers of coloured clay. The pressure exerted on the tool determines which colour is revealed, requiring a high skill level to manage the depth and detail effectively.
- Choosing the Right Board:
- Cardboard vs. Hardboard: Scratchboards come with either a cardboard or hardboard backing. Cardboard is lightweight and easily cut to size but less stable. Hardboard provides greater stability, can be corrected more often, and can be framed without glass.
- Tools of the Trade:
- Scratch Tools: While several tools are designed specifically for scratchboarding, any sharp implement can be used. Having a range of blade thicknesses allows for varying levels of ink removal.
- Professional Scratch Tools: The 'Scratch Tool' is a preferred choice among traditional scratchboard artists. This ergonomically designed, heat-treated metal knife offers increased control and a better grip. Its triangular shape allows for fine lines with the point and broad strokes with the sides.
- Alternative Tools: Sandpaper and fine steel wool can also be used for removing larger areas and adding texture.
Scratch-boarding is an art form that combines precision and creativity, resulting in stunning, detailed images. Whether you're a beginner or an experienced artist, experimenting with different tools and techniques will help you develop your unique style and master this fascinating medium.
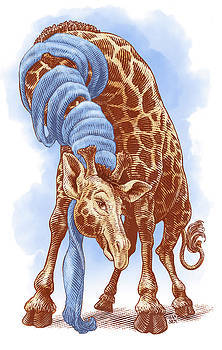
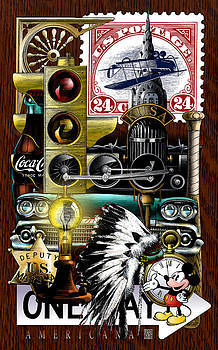
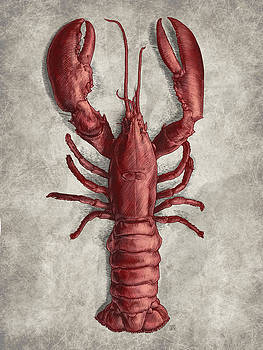
Check out these awesome artworks by Clnt Hansen
I personally can’t wait to give this technique a try. You can purchase the tools and board from most art shops or online if you want to give it a go.
