How to make a Crinoline Petticoat
How To Make a Crinolene Petticoat
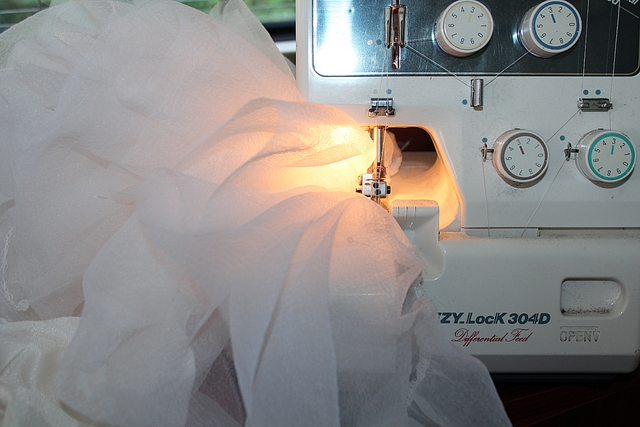
Making my own crinoline petticoats is a project I intended to start several years ago; in fact, it may be even longer than that. Unfortunately, the holdup did not know how to use the gathering function on my overlocker, and each time I thought about looking it up, I wasn't anywhere near where I could use the internet to do so! Murphy's law and all!
As it turned out, it was so simple it was ridiculous; just the turn of one knob and hey presto, it gathers! Here is a link to help you if you dont know how to do this either OVERLOCK GATHERING
Being into the 1950s look, I have many swing dresses, so these crinoline petticoats are a must-have item if I want my skirts to look full and sit nicely. So when I entered the Miss Motorama competition, I decided to make one since my angle was that I'd created my whole outfit myself.
I have some beautiful ones I've brought, and even an original 1950s number, but I wanted to try and sew one myself way back before I purchased my first one, so this was an old project waiting in the wings to be done!
I tried to look up how to sew a crinoline petticoat, but it's not that easy to find exactly what I was after; there were videos on how to make petticoat skirts which were of some help and a couple of written tutorials of how to make one but still not quite what I wanted, so I made up my mind to go with my instincts and take a few measurements off one of the petticoats I already had.
First, I started with an old-school half-slip from the top, a bit like this one, but I had already cut it up before I wanted to show you what I used. (Ok, so Im notorious for forgetting before photos!) The one in this photo has softer elastic than the petticoat and stronger elastic is essential, as it needs to hold a bit more weight with all the crinoline added.
Measuring my actual crinoline, I chopped off the top of the half slip at 15cm to make the soft top part.
I purchased 2 metres of 140cm wide crinoline and cut a piece 30cm x twice the width of the half slip.

The next tier is 15cm and four times the width of the half slip. Or twice the second tier
The bottom tier is eight times the half slip width or twice the third layer, measuring out to 16.8 metres, so it took quite a bit of sewing to get that piece on; look at it here. I nearly couldn’t see what I was doing.
To put it all together, I joined each tier up to make circles, then gathered, using the overlocker, each layer I measured into four equal sections and pinned to the layer above, overlocking them together.
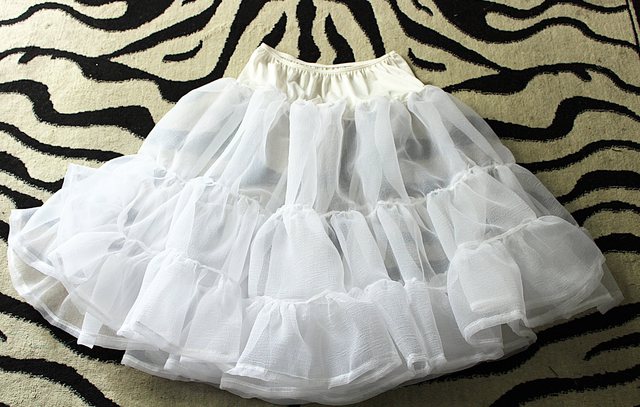
I then hemmed the final layer and sewed up a centimetre of fabric which also helped to give it more bulk at the bottom—creating the perfect crinoline petticoat.

I also added a whole heap of satin ribbon with a decorative stitch; it seemed forever sewing that on! But it made it look more finished! To make it stand out further, add horsehair braid that stiffens the edge and gives it more body.

If you found this post useful, why not check out my Mens Business shirt to a 1950s Dress Refashion too
And for some stunning Dress art, take a look at my Dress Art Gallery where you can see the 100 watercolour dress paintings along with some contemporary dress art. Most of the dress paintings are in gorgeous 1950s styles.
Posted: Monday 17 February 2014